Scanning/Linux
From Retro CDN
< Retro CDN:ScanningRevision as of 08:01, 17 March 2018 by Black Squirrel (talk | contribs) (Created page with "← Back to main scanning guide First off, this guide assumes that you know how to remove a sleeve from its case and orient it on or in your scanner...")
First off, this guide assumes that you know how to remove a sleeve from its case and orient it on or in your scanner. If you don't, please refer to the first half of the Windows guide. Second, this guide assumes you are using the GNOME desktop. XSANE, the program used in this guide, is not the only high-quality scanning program on the block, so if you are using another desktop (such as KDE) and you wish to use its default scanning software, then that will work too. So, if you have your sleeve loaded in your scanner, let's get started!
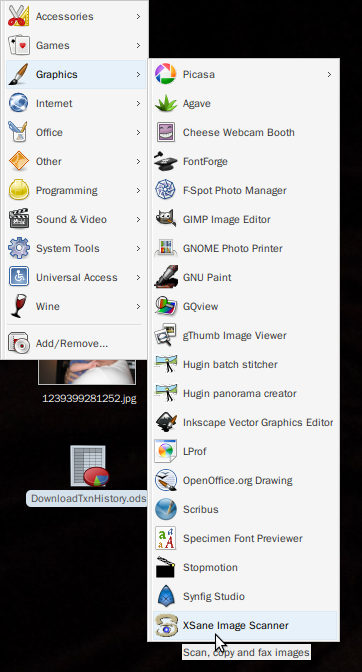
In GNOME, XSANE is usually located under your applications menu in the Graphics sub-menu.
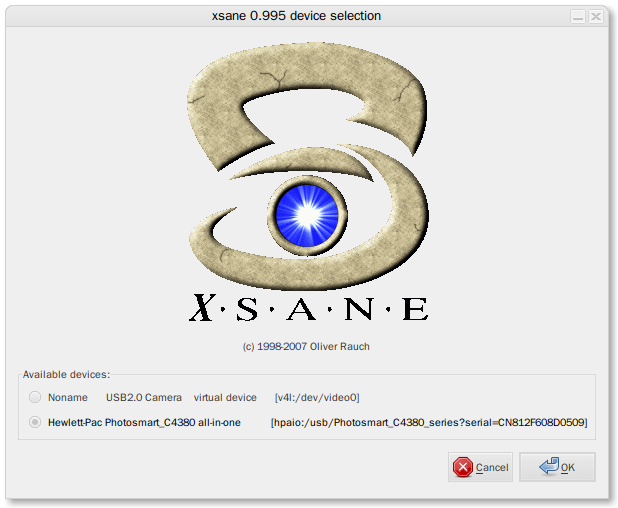
Next, XSANE will scan your machine for all devices that it can capture images from (this is not exclusive to scanning devices.) So select your scanner from the list.
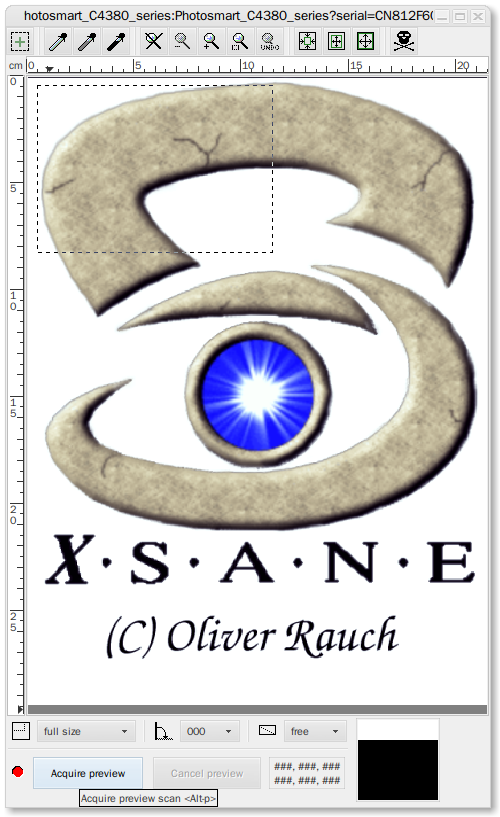
Now, this screen is sort of like a graphical representation of a flatbed. At the bottom left, there is a button that says "Acquire Preview". Hit that now.
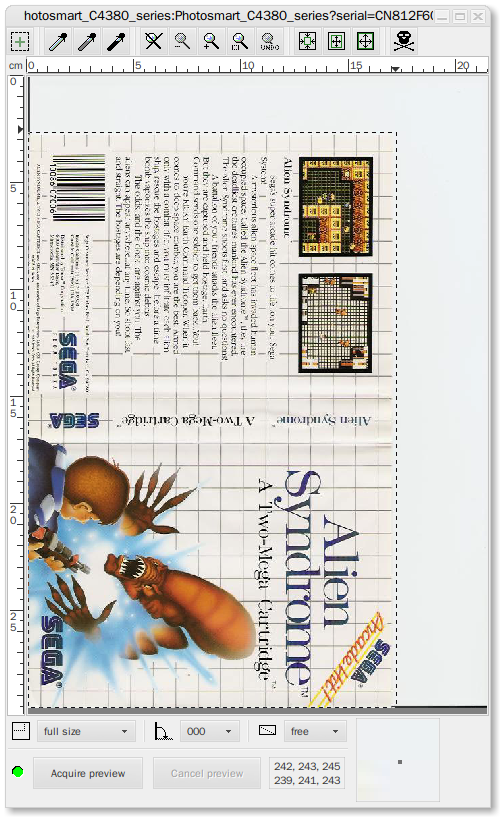
You should see your cover in this window now. This serves a couple of purposes. First, you can be sure that your scan will be straight and is sitting properly on the flatbed. Second, we are going to crop the area that we want to be scanned so that we don't see any dead space (the less editing the better).
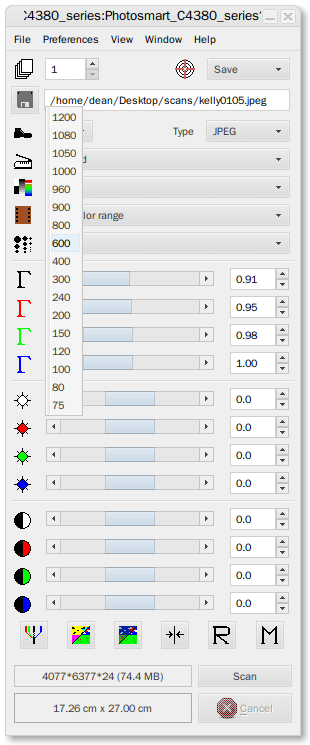
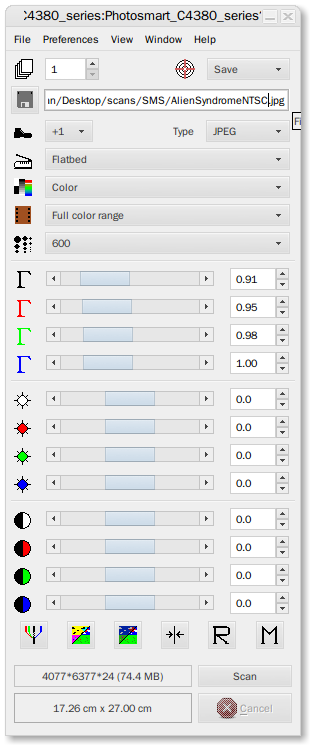
Now in the main window (XSANE opens a superfluous amount of different windows like the GIMP does) select 300dpi as your scanning resolution (or 600dpi with scaledown if you have an advanced enough scanner.) Above that, in the upper-right side of this window, you should see a menu (at least in this screenshot) that says "save". If yours is in another mode, please change it.
Last, right below that menu we just discussed is a path where your raw will be saved. Make sure that is where you want it to be and then click scan at the bottom!
Once you are satisfied with your scan, open up the image with the image editor of your choice to do any final work, and then upload!
