Difference between revisions of "Scanning/Windows"
From Retro CDN
< Retro CDN:Scanning
(Created page with "← Back to main scanning guide ==Introduction== At the Tero wikis, you should scan covers at a high quality. The minimum quality you should scan a...") |
Ccawley2011 (talk | contribs) m |
||
| (2 intermediate revisions by 2 users not shown) | |||
| Line 2: | Line 2: | ||
==Introduction== | ==Introduction== | ||
| − | At the | + | At the Retro wikis, you should scan covers at a high quality. The minimum quality you should scan a cover is at 300 dots (or more correctly, pixels) per inch. This is often abbreviated to dpi. This is so you can have a large image for seeing maximum detail. However, if a cover is for an older game (like an Mega Drive or Game Gear game) or has significant rips or tears or other imperfections, we recommend scanning a cover at 600dpi so proper editing can be done. |
If you have a lot of games and aren't sure which ones to scan first, you can check out the request threads in the Site Affairs forum and the wiki's list of requests to see what games people are requesting scans of. | If you have a lot of games and aren't sure which ones to scan first, you can check out the request threads in the Site Affairs forum and the wiki's list of requests to see what games people are requesting scans of. | ||
| Line 29: | Line 29: | ||
==Scanning software== | ==Scanning software== | ||
| − | You have two basic options at this stage. If you're running Windows 7 or Windows Vista Business, Enterprise, or Ultimate, your scanner once installed should work with the built-in Windows Fax and Scan scanning utility. Note Enterprise users may have to install the utility first. If you're on any other version of Vista or an earlier version of Windows, click [[ | + | You have two basic options at this stage. If you're running Windows 7 or Windows Vista Business, Enterprise, or Ultimate, your scanner once installed should work with the built-in Windows Fax and Scan scanning utility. Note Enterprise users may have to install the utility first. If you're on any other version of Vista or an earlier version of Windows, click [[Retro CDN:Scanning/Windows#Windows XP and earlier|here]] to skip to that section. |
===Windows Fax and Scan=== | ===Windows Fax and Scan=== | ||
| Line 66: | Line 66: | ||
Open up your scanner's scanning software. I'm not going to go over every possible setup, but there are a few important things to remember. | Open up your scanner's scanning software. I'm not going to go over every possible setup, but there are a few important things to remember. | ||
# Keep your resolution at 300dpi (or higher) | # Keep your resolution at 300dpi (or higher) | ||
| − | # [[ | + | # [[Retro CDN:Scanning/Windows#Moire|Descreen]] (sometimes called derasterize), if available |
# Some scanners, like mine, have a way to scan film. This won't work for scanning covers because you get a blank space from a different part of the scanner. | # Some scanners, like mine, have a way to scan film. This won't work for scanning covers because you get a blank space from a different part of the scanner. | ||
Latest revision as of 09:04, 4 November 2021
Contents
Introduction
At the Retro wikis, you should scan covers at a high quality. The minimum quality you should scan a cover is at 300 dots (or more correctly, pixels) per inch. This is often abbreviated to dpi. This is so you can have a large image for seeing maximum detail. However, if a cover is for an older game (like an Mega Drive or Game Gear game) or has significant rips or tears or other imperfections, we recommend scanning a cover at 600dpi so proper editing can be done.
If you have a lot of games and aren't sure which ones to scan first, you can check out the request threads in the Site Affairs forum and the wiki's list of requests to see what games people are requesting scans of.
How to scan
Firstly, you will need something to scan. This guide will be for "modern" games, so games contained in a case with a plastic cover with an insert under that. The basic ideas contained in this guide still holds true for all game scans, however. You also need a scanner and to have it installed, configured, and ready to use.
The Orange Box needs to be scanned! (not really, but just pretend)
Now you need to open it at the top (or bottom, doesn't really matter) and pull the insert out. Be careful not to damage the insert.
As far as scanning hardware goes, most people will recommend using a flatbed scanner, but if you can get another kind working for you, more power to you.
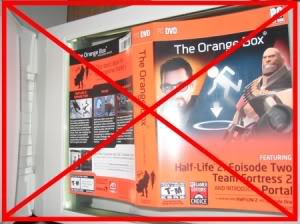
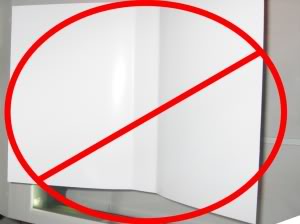
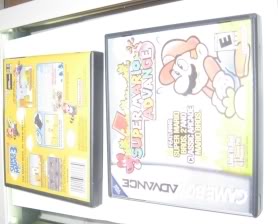
First, take out whatever stuff you have on the scanner first. Get any object(s) that you can use to hold down the cover without being bigger than the cover. The pictures show 2 DS cases; other suitable items may include CD cases, a thin book, or anything that isn't tall so we don't break the lid of the scanner. The pictures show three ways to put the cover on the scanner. The first two are incorrect and won't work.
Then put it up against the outer two corners of the scanner so it is lined up. Now that we have it on the scanner properly, slowly and gently close the lid of the scanner so that it doesn't move the cover from being where it should.
Scanning software
You have two basic options at this stage. If you're running Windows 7 or Windows Vista Business, Enterprise, or Ultimate, your scanner once installed should work with the built-in Windows Fax and Scan scanning utility. Note Enterprise users may have to install the utility first. If you're on any other version of Vista or an earlier version of Windows, click here to skip to that section.
Windows Fax and Scan
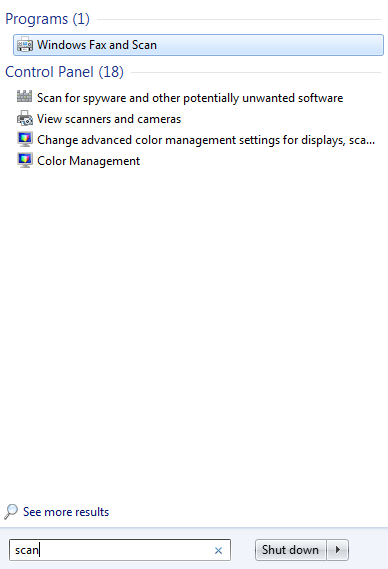
Click start and tap in scan. Amongst other things Windows will find on your computer, it'll see this top item - Windows Fax and Scan. Click it to open the application up.
The "New Scan" button here will be what we'll use to start the scan with later, but first let's set the software up. Hit Tools --> Scan Settings.
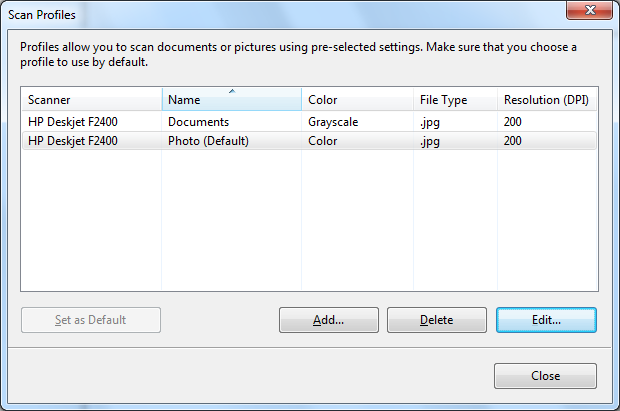
This window will come up. If like my scanner yours shows up twice, pick the Photo option (it's listed as default, so presumably will be the one it uses anyway) and click Edit.
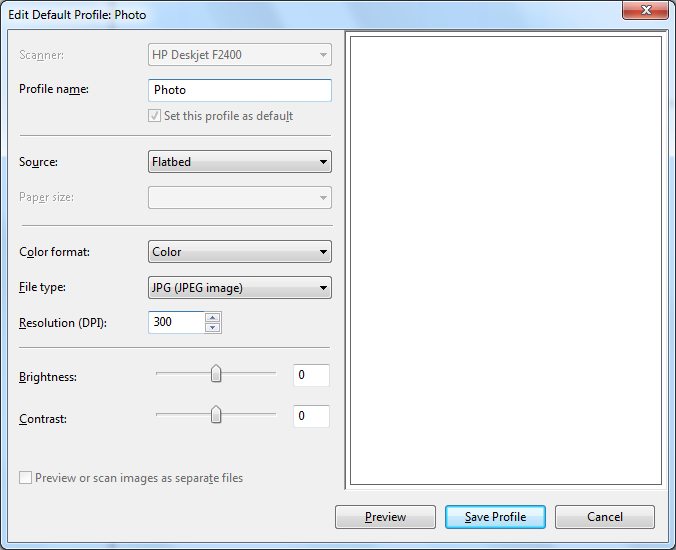
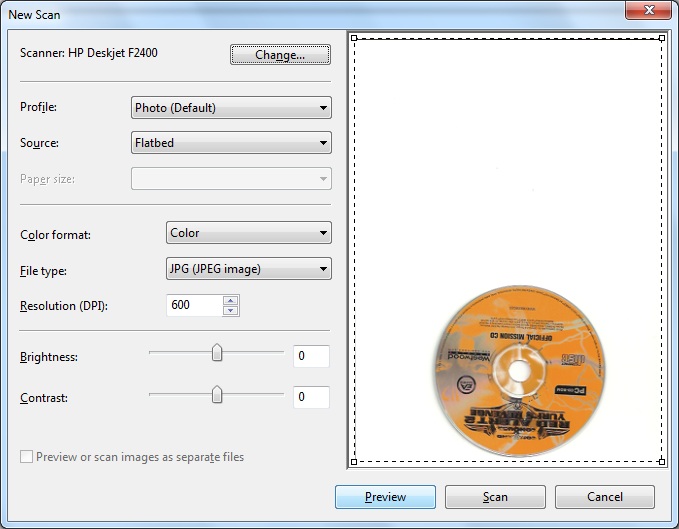
This screen comes up. Most of the options can be left untouched, but set DPI to 300 (it may well change later anyway) and click Save Profile, then Close on the previous dialogue box. Click "New Scan" at the top left of the application window, and a sub-window will pop up much like the one we were previously looking at, only with the top left of the window changed. Click on preview.
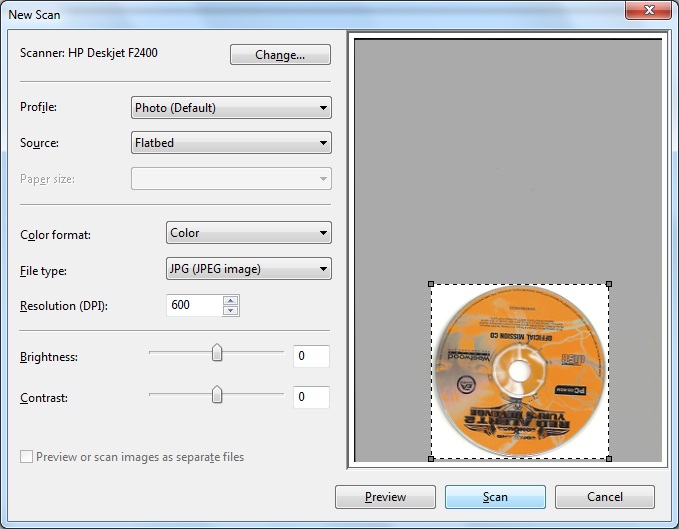
Here, Windows Fax and Scan is showing a preview of what's currently sitting on the whole of the scanner bed: in this case, my copy of the Red Alert 2: Yuri's Revenge CD. Note how the DPI has jumped up to 600 - in this case, the scanner has decided to override the settings with a new one. You can change it back to 300, or let it scan at 600 and it can size it down, if it does this - I'm choosing to leave it alone. However, clicking Scan now will make the process take longer than it has to and leave with a large white area that'll just need cropping down later, so do it now (You may need to disable the checkbox option for "Preview or scan images as seperate files" first):
Perfect. Give all the settings a quick final check and hit Scan.
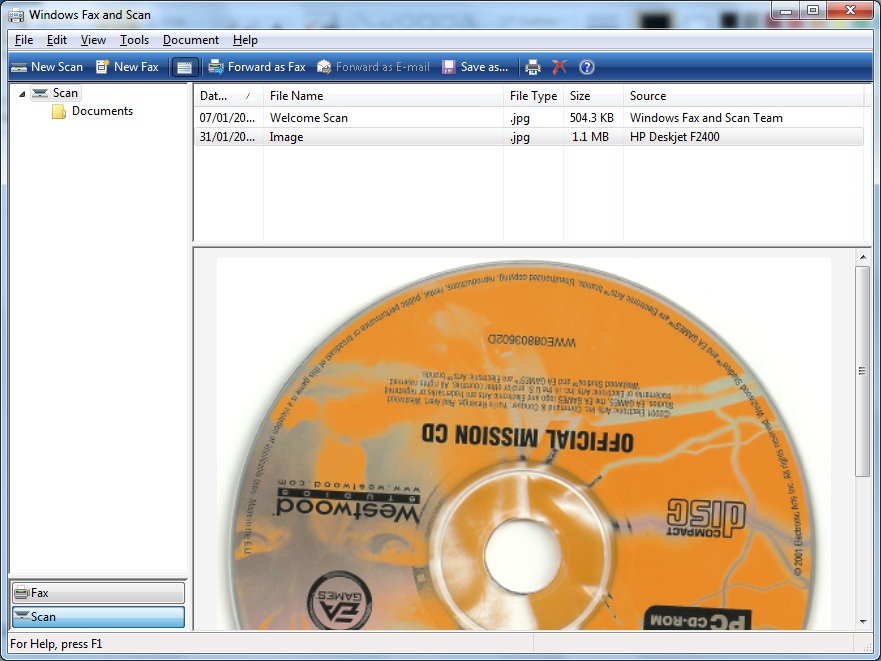
Windows Fax and Scan will now scan the selected area and then throw you back to this window. The finished scan is now in the program's files pane - you can get at it by right clicking the picture there and opening the containing folder, but it's easier to just have navigated to the containing folder before hand - it's in your My Documents folder under the subfolder Scanned Documents.
This all done, you can now finish the cropping and apply any rotation in your image editor of choice: Paint Shop Pro, The GIMP or Photoshop are recommended. Scroll to the bottom of the page first for a quick note on Moire, though.
Windows XP and earlier
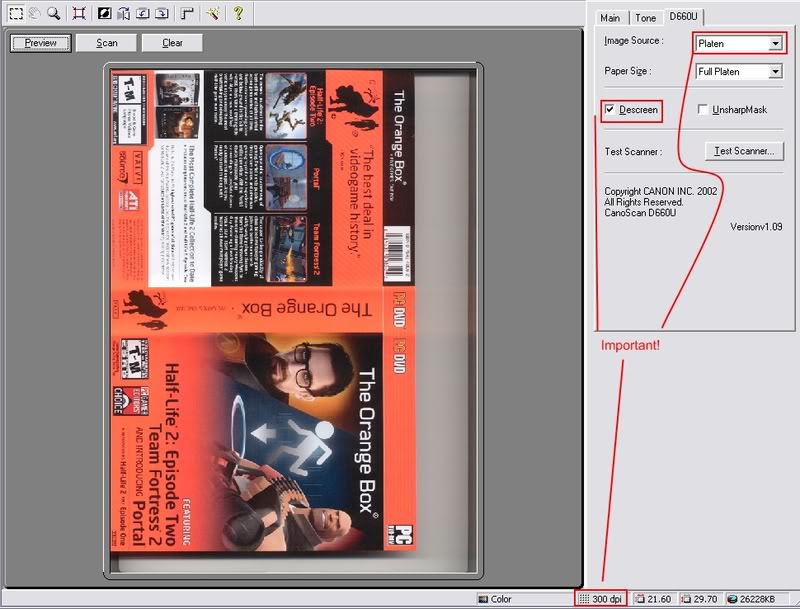
Open up your scanner's scanning software. I'm not going to go over every possible setup, but there are a few important things to remember.
- Keep your resolution at 300dpi (or higher)
- Descreen (sometimes called derasterize), if available
- Some scanners, like mine, have a way to scan film. This won't work for scanning covers because you get a blank space from a different part of the scanner.
Rotate and edit your scan as needed, and save as a high-quality JPG file.
Moire
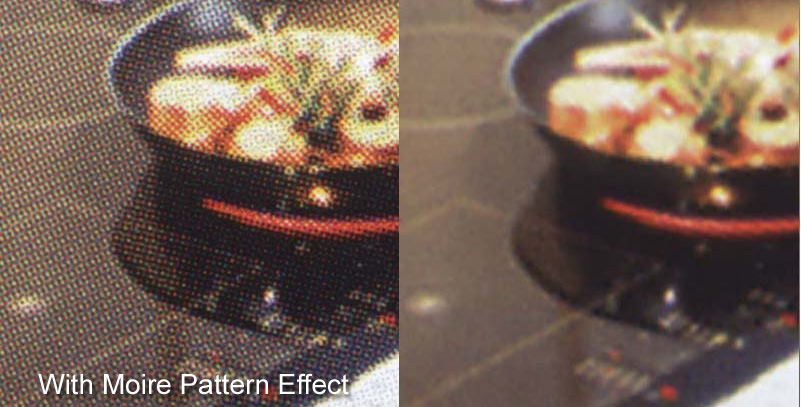
One of the most common problems with scans is something called the Moire Pattern Effect. This causes scans to show the ink bubbles used in printing in your scan rather than a cohesive picture.
There are two main ways to prevent the pattern from showing in your scans. Scanners have a true dpi; that is, they scan at a certain resolution and either scale up or down in quality. Most scanners, excluding budget flatbed scanners, can scan at at least 600dpi. Scanning a cover at 600dpi and downscaling it to 200 or 300dpi should remove most of the problem. Alternately, you can use the scanner's software's built-in descreen/derasterize/remove moire function to achieve a similar effect. Photoshop's Despeckle and Unsharp Mask (used lightly) can be additionally applied to clean up moire patterns.

